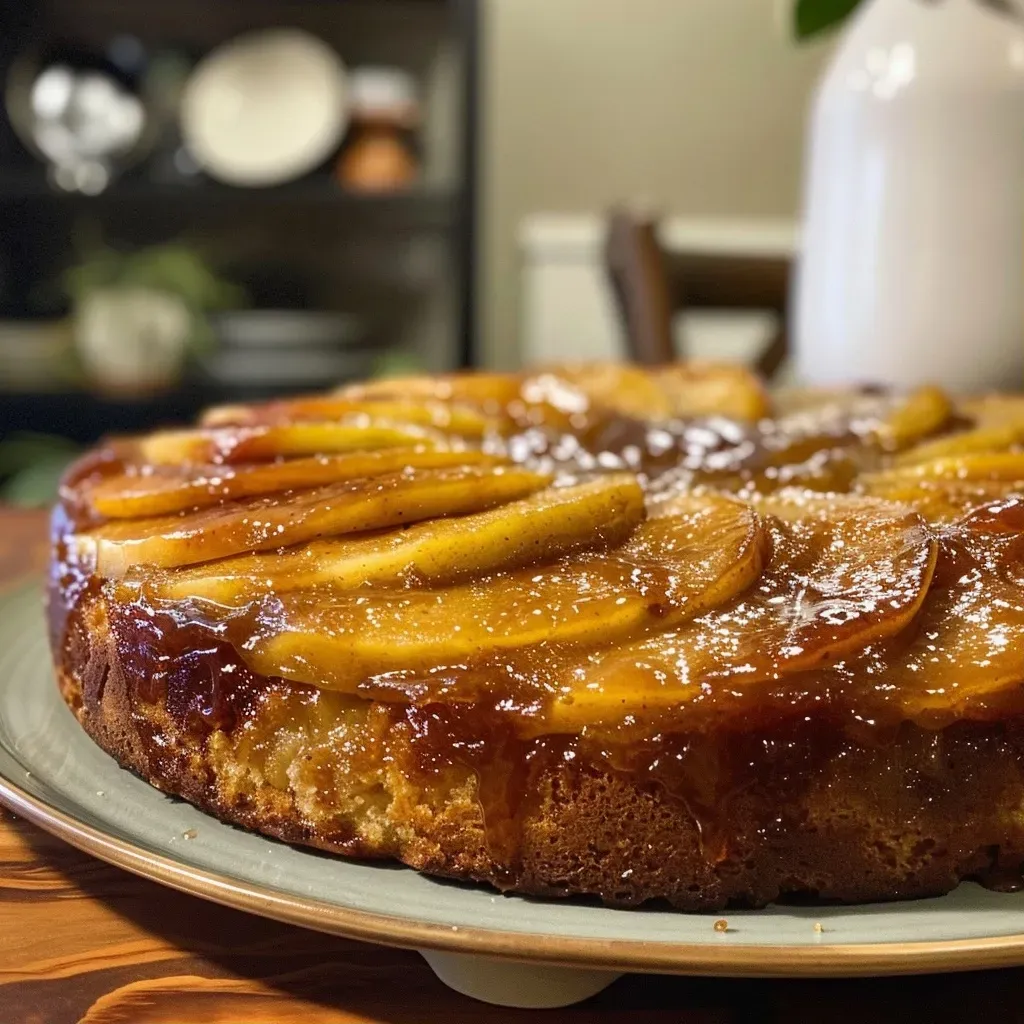
Welcome to the Cozy World of Browned Butter Apple Upside-Down Cake
As the leaves turn and the air gets crisp, there’s nothing quite like indulging in a slice of warm, comforting cake. This Browned Butter Apple Upside-Down Cake is not just a dessert; it’s a celebration of fall’s bounty, combining the rich flavor of browned butter with the sweet, caramelized goodness of apples. Whether you’re hosting a gathering or simply treating yourself, this recipe stands out for its simplicity and depth of flavor. Let’s dive into why you’ll love making this delightful cake!
Why You’ll Love This Recipe
- Easy to Make: With straightforward steps and easily accessible ingredients, this cake is perfect for bakers of all levels.
- Deliciously Nutty Flavor: The browned butter adds a unique depth that elevates the cake from ordinary to extraordinary.
- Caramelized Apples: The combination of sweet apples and caramel sauce creates a mouthwatering topping that’s hard to resist.
- Perfect for Any Occasion: Whether it’s a cozy family dinner or a festive gathering, this cake is sure to impress your guests.
- Make-Ahead Friendly: This cake can be prepared in advance, allowing the flavors to meld beautifully over time.
Ingredients Breakdown
Below is the detailed list of ingredients you’ll need to create this scrumptious cake, along with some helpful substitutions if you’re looking to make it your own.
- Apples: 2 large or 3 small apples (Granny Smith or Honeycrisp work well). You can also try pears for a different flavor.
- Butter: 1/4 cup of unsalted butter for browning. If you want a salted version, adjust the salt in the recipe accordingly.
- Cinnamon: 1/4 teaspoon for the apples; feel free to increase this for a spicier flavor.
- Brown Sugar: 1/4 cup for caramelizing the apples. Dark brown sugar gives a deeper flavor, while light brown sugar is milder.
- Cream: 1/4 cup to enhance the caramel mixture. Substitute with milk or a dairy-free alternative if desired.
- Flour: 1 3/4 cups of all-purpose flour works best. Whole wheat can be used for a healthier option.
- Baking Powder: 1/2 teaspoon for leavening.
- Salt: 1/2 teaspoon to balance flavors.
- White Sugar: 1/2 cup for sweetness.
- Dark Brown Sugar: 1 cup for a rich flavor.
- Browned Butter: 1/2 cup adds depth to the cake.
- Vanilla: 1 teaspoon for aromatic sweetness.
- Eggs: 3 large eggs for structure.
- Whole Milk: 3/4 cup adds moisture.
Instructions: Step-by-Step Guide
Creating this cake involves a few simple steps. Follow along for the best results!
- Brown the Butter: In a small saucepan over medium heat, melt 1/2 cup of unsalted butter. Stir frequently until golden brown and fragrant (about 5 minutes). Remove from heat and let cool slightly.
- Prepare the Pan: Preheat the oven to 350°F (175°C). Line a 10-inch cake pan with parchment paper and spray with cooking spray for easy removal.
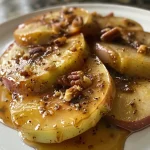
- Slice the Apples: Peel and cut the apples into 1/2-inch slices. In a medium saucepan, combine the butter, cinnamon, and 1/4 cup brown sugar over medium heat. Add the apples and cream, stirring until softened.
- Mix Dry Ingredients: In a separate bowl, sift together the flour, baking powder, and salt. Set aside.
- Make the Batter: In a large mixing bowl, combine the remaining sugars and browned butter. Mix in the eggs, one at a time, until fully incorporated. Gradually add the flour mixture and milk, alternating between the two.
- Assemble the Cake: Pour the caramelized apple mixture into the prepared pan, spreading it evenly. Carefully pour the batter on top, ensuring it covers the apples.
- Bake: Place the cake in the preheated oven for 55-60 minutes or until a toothpick inserted in the center comes out clean.
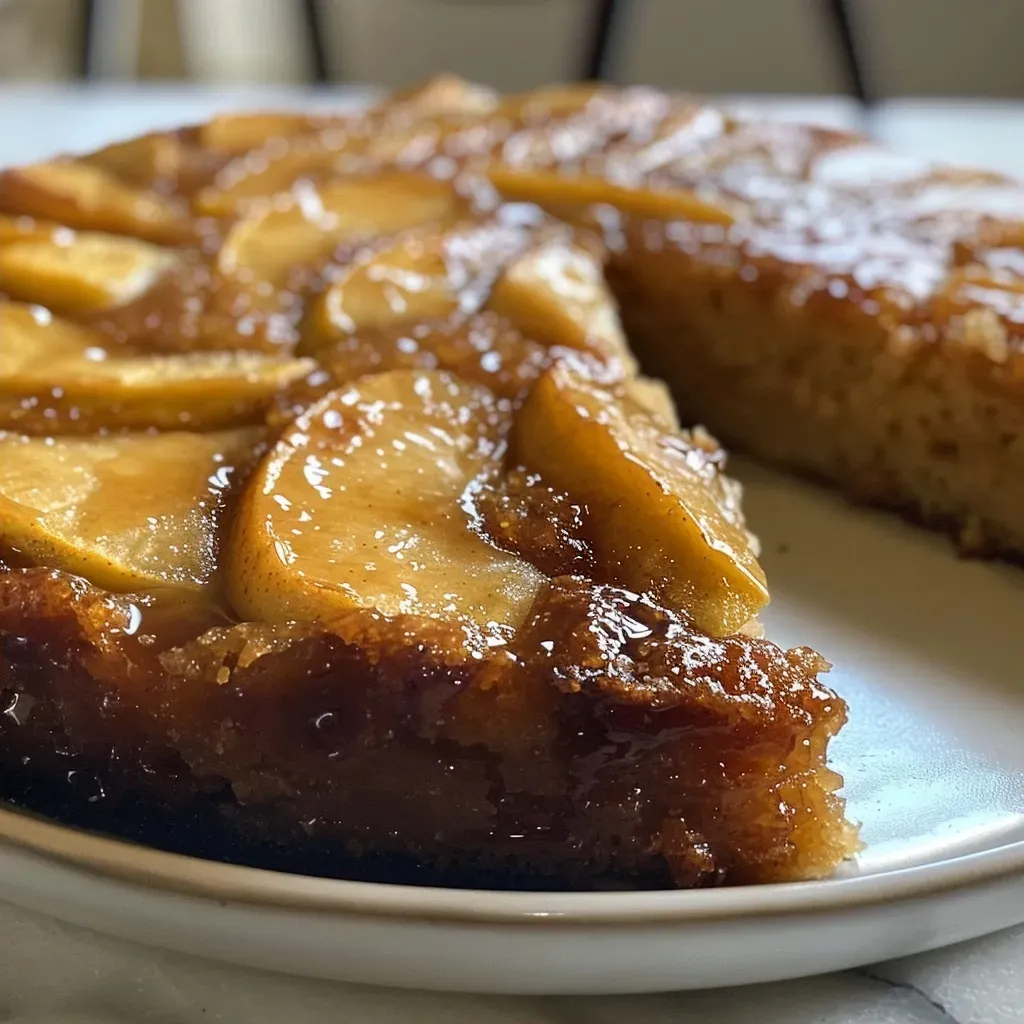
- Cool and Serve: Allow the cake to cool in the pan for 10 minutes, then flip it onto a serving platter. Serve warm with a scoop of vanilla ice cream or a drizzle of salted caramel sauce.
Pro Tips for Perfecting Your Cake
- Use Fresh Apples: Opt for crisp, fresh apples for the best flavor and texture.
- Don’t Overmix: When combining the batter, mix just until ingredients are combined to avoid a dense cake.
- Adjust Sweetness: Taste the apple mixture before baking and adjust the sweetness to your liking.
- Let It Cool: Allow the cake to cool slightly before flipping to prevent sticking.
- Experiment with Flavors: Add nuts or spices like nutmeg for an extra layer of flavor.
- Check Oven Temperature: Ensure your oven is calibrated correctly for even baking.
- Serve with Toppings: Enhance the experience with whipped cream, yogurt, or a fruit compote.
- Make it Gluten-Free: Substitute with a 1:1 gluten-free flour blend for a gluten-free version.
Common Mistakes and Troubleshooting
Even the best bakers make mistakes. Here are some common pitfalls and how to avoid them:
- Dense Cake: Overmixing the batter can lead to a dense texture. Mix just until combined.
- Burnt Apples: If the apples are overcooked, they may become mushy. Remove them from the heat as soon as they’re tender.
- Sticky Cake: If the cake sticks to the pan, ensure you properly grease and line it with parchment paper.
Variations to Try
Feeling adventurous? Here are some delicious variations you can try with this upside-down cake:
- Pear and Almond: Substitute apples with pears and add slivered almonds for a nutty flavor.
- Spiced Pumpkin: Incorporate pumpkin puree and spices for a fall twist.
- Chocolate Drizzle: Drizzle melted chocolate over the top for a decadent finish.
- Nutty Crunch: Add chopped walnuts or pecans to the apple layer for added texture.
Storage and Make-Ahead Instructions
This cake is perfect for making ahead of time. Here’s how to store it:
- Room Temperature: Store the cake at room temperature for up to 2 days in an airtight container.
- Refrigeration: For longer storage, keep it in the fridge for up to a week.
- Freezing: Wrap the cake tightly in plastic wrap and foil, then freeze for up to 3 months. Thaw in the fridge before serving.
Frequently Asked Questions
Here are some common questions about this delightful dessert:
- Can I use other types of apples? Yes, feel free to experiment with different apple varieties like Fuji or Braeburn.
- Is it necessary to brown the butter? While you can use regular melted butter, browning adds a richer flavor.
- Can I make this cake gluten-free? Absolutely! Substitute with a gluten-free flour blend.
- What’s the best way to serve this cake? It’s delicious warm with a scoop of vanilla ice cream or drizzled with caramel sauce.
- How do I know when it’s done baking? A toothpick inserted in the center should come out clean when the cake is done.
- Can I add nuts? Yes, walnuts or pecans can be added to the apple layer for extra crunch.
- How long does it keep? The cake lasts up to a week in the refrigerator or can be frozen for 3 months.
- What’s the best way to reheat leftovers? Gently warm slices in the microwave or oven for a few minutes before serving.
Nutritional Tips and Dietary Adaptations
This cake can be enjoyed as part of a balanced diet. Here are some tips to make it even healthier:
- Use Whole Wheat Flour: For added fiber and nutrients, use whole wheat flour instead of all-purpose.
- Reduce Sugar: You can cut down on sugar by using less in the batter or substituting with natural sweeteners like honey or maple syrup.
- Choose Healthy Fats: Substitute butter with coconut oil or a plant-based butter for a healthier fat option.
Essential Equipment for Success
To create the best Browned Butter Apple Upside-Down Cake, make sure you have the following equipment:
- 10-Inch Round Cake Pan: Essential for even baking and easy flipping.
- Mixing Bowls: A set of various sizes will help in organizing your ingredients.
- Whisk and Spatula: For mixing and folding your batter and ingredients smoothly.
- Small Saucepan: For browning the butter and caramelizing the apples.
Serving Suggestions
This cake is versatile and pairs well with various accompaniments:
- Vanilla Ice Cream: A classic pairing that adds creamy richness.
- Whipped Cream: Light and airy whipped cream enhances the cake’s flavors.
- Salted Caramel Sauce: Drizzle on top for an indulgent touch.
- Fresh Creamy Yogurt: For a lighter option, serve with yogurt for a creamy contrast.
With this comprehensive guide, you’re now equipped to create the perfect Browned Butter Apple Upside-Down Cake. Remember, the joy of baking lies in the experience, so take your time, enjoy the process, and savor every bite of your delicious creation. Happy baking!
Browned Butter Apple Upside-Down Cake
Ingredients
Fruits
- 2 large apples
Butter
- 1/4 cup butter (for caramel)
- 1/2 cup browned butter
Sugars
- 1/4 cup brown sugar (for caramel)
- 1/2 cup white sugar
- 1 cup dark brown sugar
Dairy
- 1/4 cup cream
- 3/4 cup whole milk
Baking Essentials
- 1 3/4 cups flour
- 1/2 teaspoon baking powder
- 1/2 teaspoon salt
- 1 teaspoon vanilla
- 3 eggs
- 1/4 teaspoon cinnamon (for caramel)
- 1/4 teaspoon cinnamon (for batter)
Instructions
- Brown 1/2 cup of butter in a saucepan over medium heat for about 5 minutes, then cool in the refrigerator.
- Preheat oven to 350°F and prepare a 10-inch cake pan with cooking spray and parchment paper.
- Peel and slice apples, then cook with butter, cinnamon, and brown sugar until soft.
- Sift dry ingredients, then mix sugar, butter, and vanilla; add eggs one at a time, then alternate flour and milk.
- Layer caramel apple mixture in the pan, pour batter on top, and bake for 55-60 minutes.