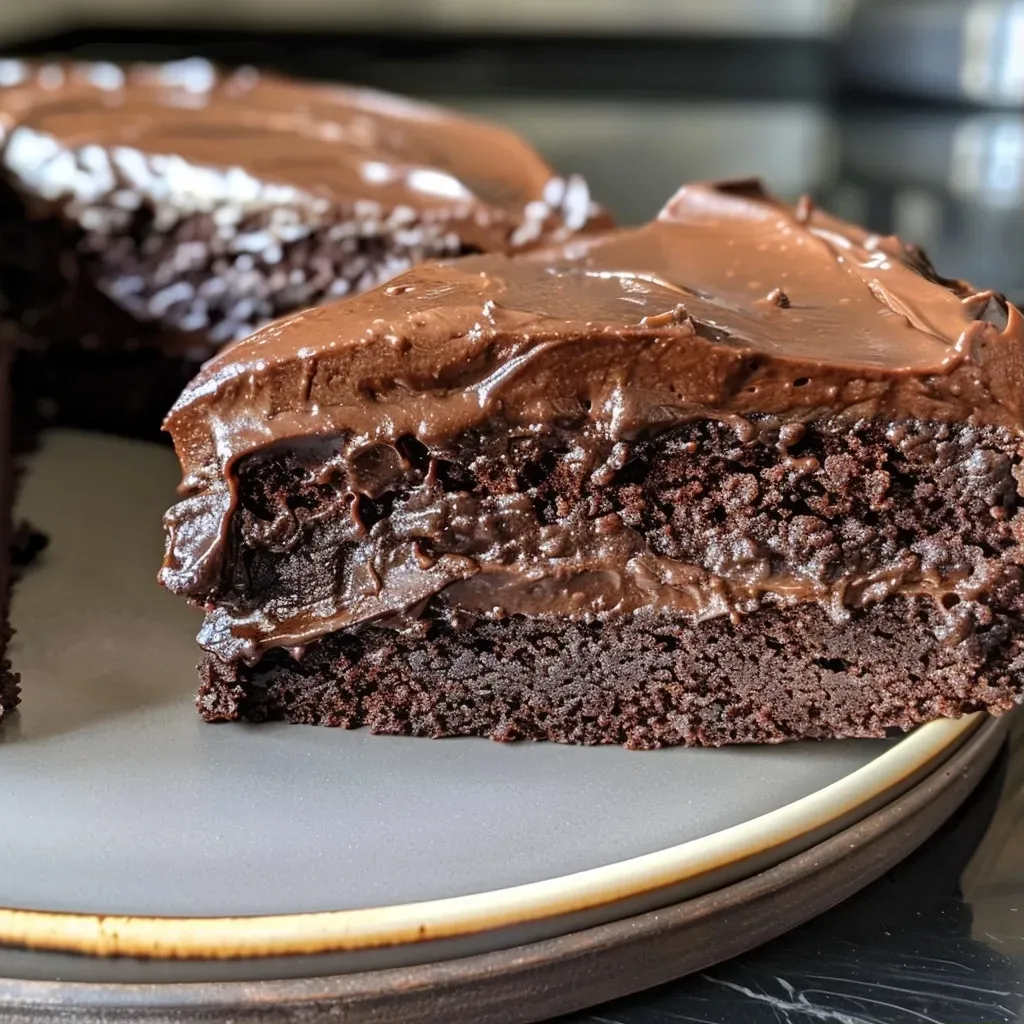
Indulge in the Joy of Baking: Your Ultimate Guide to Vegan Gluten Free Chocolate Cake
Welcome to your new favorite cake recipe! This Vegan Gluten Free Chocolate Cake is not just a dessert; it’s a celebration of flavor, texture, and wholesome ingredients. If you’ve been searching for a cake that’s both indulgent and suitable for gluten-free and vegan diets, you’ve come to the right place. In this comprehensive guide, we’ll walk you through every step of the process, share tips and tricks, and ensure you can bake with confidence. Let’s dive into the deliciousness!
Why You’ll Love This Recipe
- Simple ingredients: Made with everyday pantry staples, this cake is easy to whip up any day of the week.
- Perfect for all occasions: Whether it’s a birthday, wedding, or just a Tuesday, this cake will impress.
- Rich chocolate flavor: The combination of cocoa powder and oat flour creates a deep and satisfying chocolate taste.
- Vegan and gluten-free: Suitable for those with dietary restrictions, ensuring everyone can enjoy a slice.
- Customizable: Add your favorite mix-ins or frosting to make it uniquely yours!
Ingredient Breakdown
Understanding your ingredients is crucial for achieving the best results. Here’s what you’ll need:
- Dairy-free milk: Use unsweetened almond, soy, or oat milk to keep it vegan and gluten-free.
- Apple cider vinegar: This reacts with baking soda to create a fluffy texture.
- Oat flour: The star of this recipe! You can easily make your own by blending rolled oats.
- Cocoa powder: Use unsweetened cocoa powder for that rich chocolate flavor.
- Arrowroot powder: This helps to bind ingredients and improve texture.
- Baking powder and baking soda: Essential for the cake’s rise.
- Applesauce or dairy-free yogurt: These add moisture and sweetness.
- Coconut sugar: A natural sweetener that gives a lovely caramel flavor.
Substitutions for Dietary Needs
- Gluten-free flour blend: If you prefer, you can use a gluten-free all-purpose flour blend.
- Maple syrup: Swap coconut sugar for maple syrup if you want a liquid sweetener.
- Flax eggs: For an egg-free option, mix ground flaxseed with water to replace eggs in baking.
Step-by-Step Instructions
Preparation
Let’s get started on our cake:
- Preheat your oven to 350°F (175°C). Grease and line three 6-inch cake pans with parchment paper.
- In a small bowl, mix dairy-free milk and apple cider vinegar. Set aside for 5 minutes to create vegan buttermilk.
Mixing the Dry Ingredients
- In a medium bowl, whisk together oat flour, cocoa powder, arrowroot powder, baking powder, and baking soda. Set aside.
Combining Wet and Dry
- In a large bowl, whisk together the vegan buttermilk, applesauce, and coconut sugar.
- Slowly add the dry mixture to the wet mixture, stirring gently until just combined.
Baking the Cake
- Divide the batter evenly among the prepared pans.
- Bake for 37-40 minutes, or until a toothpick inserted comes out clean.
- Let the cakes cool in the pans for 10 minutes, then transfer to a wire rack to cool completely.
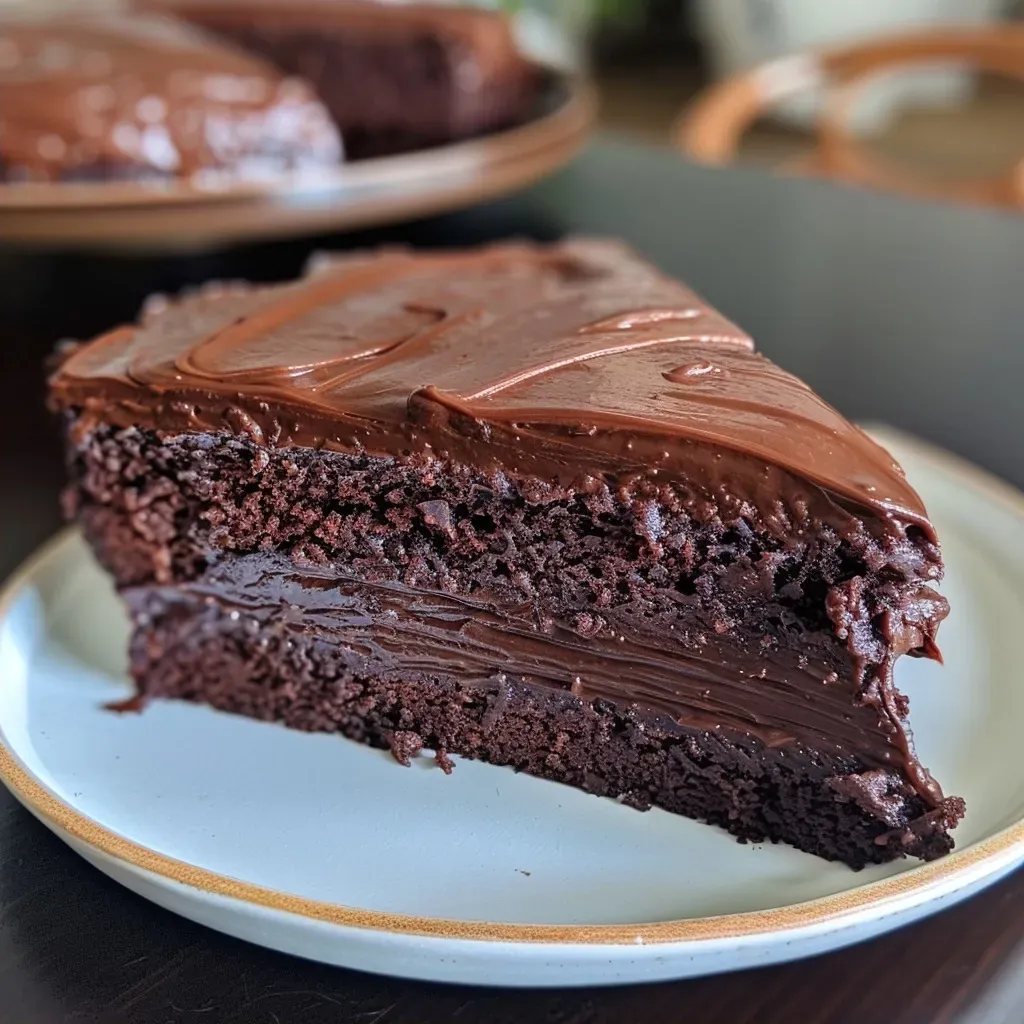
Frosting Your Cake
Once your cake layers are fully cooled, it’s time to frost! Here’s how:
- Prepare your Vegan Chocolate Buttercream according to your preferred recipe.
- Layer the frosting between each cake layer, using about 1/3 cup of frosting for each.
- Frost the top and sides of the cake, and feel free to decorate with fresh fruits or chocolate shavings!
Pro Tips for the Perfect Cake
- Let it cool: Ensure your cakes are completely cool before frosting to prevent melting.
- Don’t skip the vinegar: It’s essential for achieving the fluffy texture.
- Experiment with flavors: Add vanilla extract or espresso powder for a unique twist.
- Use a cake leveler: For a professional finish, level your cake layers before frosting.
- Store properly: Keep leftover cake in an airtight container in the fridge for up to 5 days.
Common Mistakes and Troubleshooting
- Dense cake: This can happen if you overmix the batter. Mix just until combined.
- Underbaked center: Ensure your oven temperature is accurate; consider using an oven thermometer.
- Crumbly texture: If this occurs, your flour may have too much moisture. Try adjusting the liquid ingredients next time.
Variations to Try
- Chocolate Chip Cake: Fold in dairy-free chocolate chips for extra decadence.
- Nutty Chocolate Cake: Add chopped walnuts or pecans for a delightful crunch.
- Mint Chocolate Cake: Incorporate peppermint extract into the batter for a refreshing twist.
- Layered with Fruit: Add layers of fresh strawberries or raspberries between the cake layers for a fruity surprise.
Storage and Make-Ahead Instructions
This cake is perfect for making ahead of time:
- Once fully cooled, you can freeze the cake for up to 2 months. Wrap it tightly in plastic wrap and then foil.
- Thaw in the fridge overnight before serving.
- Frost the cake the day you plan to serve it for the best texture.
Frequently Asked Questions
- Can I use a different flour? Yes, but oat flour is specially formulated to work well in this recipe.
- What can I substitute for applesauce? You can use dairy-free yogurt or mashed bananas as alternatives.
- How do I know when the cake is done? A toothpick inserted into the center should come out clean or with a few crumbs attached.
- Can I make this cake in advance? Absolutely! You can bake and freeze it ahead of time.
- How long will leftovers last? Keep them in an airtight container in the fridge for up to 5 days.
- Can I use regular sugar instead of coconut sugar? Yes, granulated sugar works fine.
- What if I don’t have apple cider vinegar? You can use white vinegar or lemon juice as substitutes.
- Is this cake suitable for kids? Yes! It’s a fun and delicious dessert that kids will love.
Nutrition Tips and Dietary Adaptations
This cake is not only indulgent but also offers some health benefits:
- Oat flour: Rich in fiber which helps maintain healthy digestion.
- Applesauce: Lowers the fat content while adding moisture.
- Coconut sugar: A lower glycemic index sweetener compared to regular sugar.
Equipment Recommendations
To achieve the best results, here are some kitchen tools you might find helpful:
- Mixing bowls: A set of different sizes is ideal for separating wet and dry ingredients.
- Measuring cups and spoons: Accurate measurements are crucial in baking.
- Cake pans: Three 6-inch round pans will give you the perfect layered cake.
- Whisk: For mixing ingredients thoroughly.
- Spatula: Great for folding in delicate ingredients or spreading frosting.
Serving Suggestions
Enjoy your cake with a variety of accompaniments:
- Coconut whipped cream: A light and fluffy topping that pairs beautifully.
- Fresh berries: Add a burst of flavor and color.
- Vegan ice cream: Serve warm slices with a scoop for a delightful dessert experience.
In conclusion, this Vegan Gluten Free Chocolate Cake is a heartfelt creation that brings joy to any gathering. With its rich flavor and simple ingredients, it’s a recipe you’ll cherish and share with loved ones. Remember, cooking is not just about following steps—it’s about enjoying the journey. Happy baking!
Best Vegan Gluten Free Chocolate Cake
Ingredients
wet ingredients
- 1.5 cups unsweetened dairy free milk (350 g)
- 1 tsp acv (room temperature, mixed before the batter)
- 3 cups oat flour (sifted, 360 g)
- 2/3 cup cocoa powder (65 g)
- 2 tbsp arrowroot powder
- 1.5 tsp baking powder
- 1 tsp baking soda
- 1.25 cups unsweetened applesauce or dairy free yogurt (375 g, room temperature)
- 1.25 cups coconut sugar or organic granulated sugar (250 g)
frosting
Instructions
- Preheat oven to 350°F (175°C). Grease three 6-inch cake pans and line with parchment paper.
- Mix dairy free milk and acv in a small bowl; set aside for 5 minutes to make vegan buttermilk.
- Whisk together dry ingredients: oat flour, cocoa powder, arrowroot, baking powder, and baking soda.
- Combine vegan buttermilk, applesauce, and sugar in a large bowl; add dry ingredients and whisk until just combined.
- Divide batter evenly into pans and bake for 37-40 minutes. Cool completely before frosting.
- Frost with vegan chocolate buttercream, layering and decorating as desired. Store leftovers in fridge up to 5 days or freeze for 2 months.