
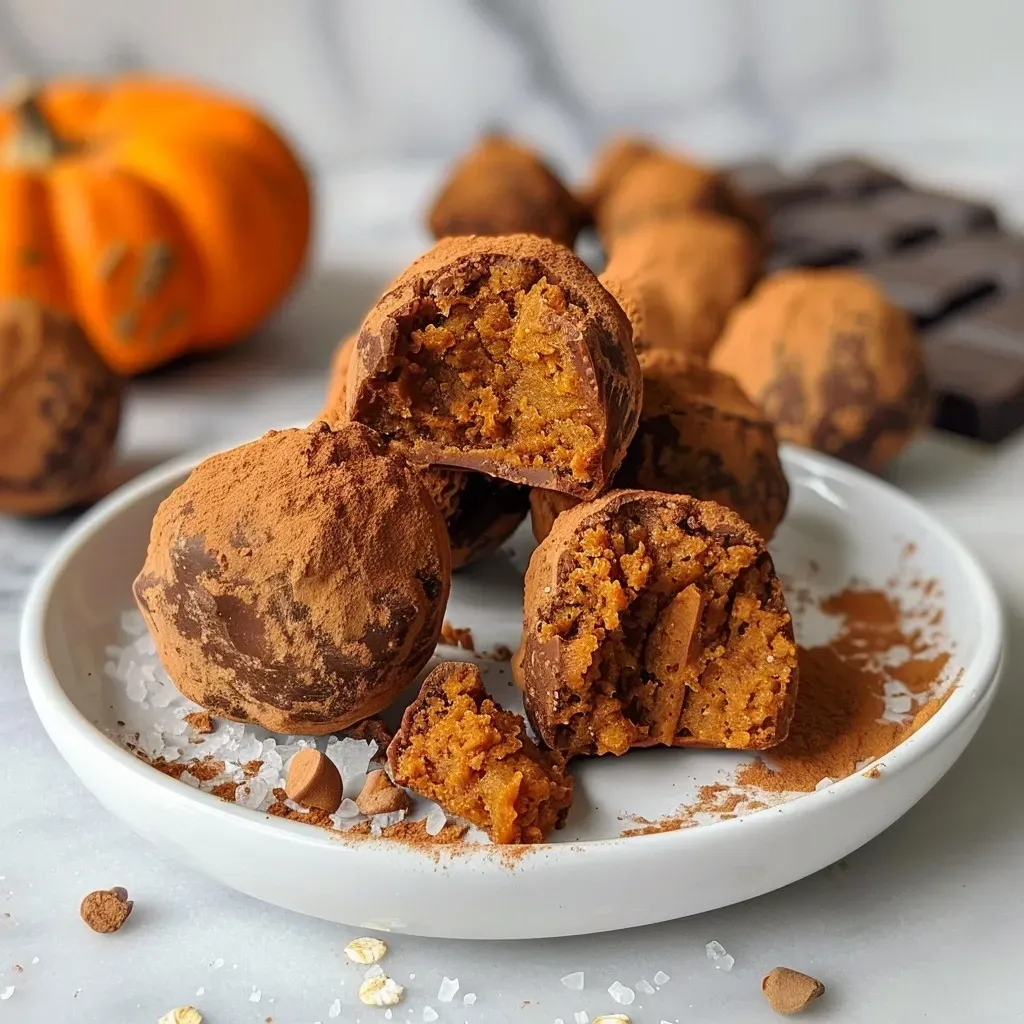
Welcome to the world of wholesome pumpkin truffles, where simplicity meets deliciousness. These healthy pumpkin truffles are the perfect blend of flavors and textures, making them a delightful treat that anyone can enjoy. With a few simple ingredients, you can create a mouthwatering dessert that satisfies your sweet tooth while remaining nutritious. In this guide, we will take you through every step of making these delightful bites, ensuring you feel confident in your kitchen.
These truffles are not just delicious; they embody the essence of wholesome cooking. They are packed with nutrients, and their warm, comforting flavors are sure to bring joy to your table. Whether you’re preparing for a gathering, looking for a cozy snack, or simply want to indulge, these pumpkin truffles are a wonderful choice.
Why You’ll Love This Recipe
- Nutritious ingredients: Made with pumpkin purée and oat flour, these truffles are lower in sugar but high in flavor, making them a guilt-free indulgence.
- Easy to make: With just a handful of simple ingredients and straightforward steps, these truffles can be prepared in under an hour, even if you’re new to cooking.
- Customizable flavors: Feel free to experiment with spices and mix-ins, allowing you to create a version of these truffles that suits your tastes perfectly.
- Perfect for any occasion: Whether it’s a festive gathering or a quiet evening at home, these truffles are a delightful treat that can be enjoyed anytime.
- Great for sharing: With 24 truffles per batch, they’re perfect for sharing with friends and family, making them an excellent addition to potlucks or parties.
Ingredients Breakdown
Before diving into the recipe, let’s take a closer look at the ingredients you’ll need to make these healthy pumpkin truffles.

★ Recommended Kitchen Tool
Professional Chef Knife Set
Make this recipe even easier with a quality Professional Chef Knife Set — a must-have kitchen staple!
- Pumpkin purée: Use pure pumpkin purée, not pumpkin pie filling, as the latter contains added sugars and spices. Pumpkin is rich in vitamins and adds natural sweetness.
- Homemade pumpkin spice: A blend of cinnamon, nutmeg, ginger, and allspice gives these truffles their signature flavor. You can easily make your own or use store-bought.
- Oat flour: This gluten-free option adds a nutty flavor and is a healthier alternative to regular flour. You can also make your own oat flour by blending rolled oats in a food processor.
- Dark chocolate: Choose high-quality dark chocolate for dipping. It adds a rich flavor and pairs perfectly with the sweetness of the pumpkin.
- Liquid stevia: A natural sweetener that keeps the truffles low in sugar. You can substitute with honey or maple syrup if you prefer.
How to Make Healthy Pumpkin Truffles
Now that we have everything ready, let’s get into the step-by-step process of making these delicious healthy pumpkin truffles.
Instructions
- Prepare your workstation by placing a sheet of wax or parchment paper on a baking tray.
- In a medium bowl, stir together the pumpkin purée, pumpkin spice, salt, and liquid stevia. Gradually add the oat flour, mixing until just combined.
- Using your hands, roll small amounts of the mixture into bite-sized spheres. Place them on the prepared baking sheet. (Tip: Rub your hands with a little oil to prevent sticking!)
- In a microwave-safe bowl, place the dark chocolate. Microwave on HIGH for 30 seconds, then stir. Continue heating in 10-second intervals, stirring in between, until fully melted.
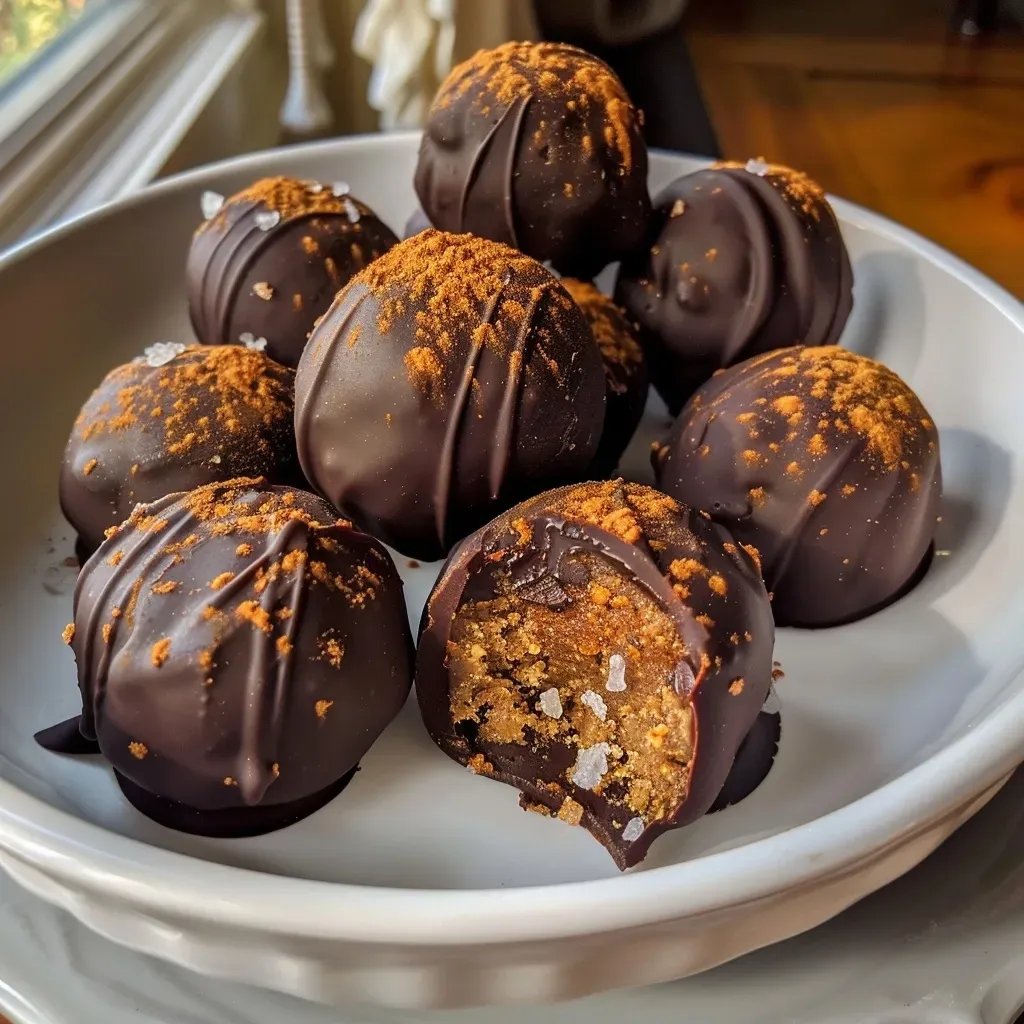
- Carefully dip each pumpkin sphere into the melted chocolate using two forks, letting the excess drip off before placing them back on the wax paper. If desired, sprinkle a small amount of flaky sea salt on top of each truffle.
- Once all the truffles are coated, place them in the freezer for 5-10 minutes or in the refrigerator for 15-20 minutes until the chocolate hardens. Store them in the refrigerator until ready to enjoy.
Pro Tips for Perfect Pumpkin Truffles
- Use room-temperature ingredients: This helps in achieving a smoother mixture and better blending of flavors.
- Don’t overmix: Mix the ingredients until just combined to ensure a tender texture.
- Keep chocolate warm: To make dipping easier, keep the melted chocolate warm while you work.
- Experiment with flavors: Consider adding a touch of vanilla extract or almond extract for added depth.
- Chill the filling: For easier rolling, chill the pumpkin mixture for 15-30 minutes before shaping.
- Use a fork for dipping: This helps maintain the shape of the truffles when dipping them in chocolate.
- Try different coatings: Roll the truffles in crushed nuts, coconut, or cocoa powder for added texture and flavor.
- Store properly: Keep truffles in an airtight container in the refrigerator to maintain freshness.
Common Mistakes and Troubleshooting
Even the best home chefs encounter challenges. Here are some common mistakes and how to avoid them:
- Too sticky to roll: If the mixture is too sticky, refrigerate it for a bit to firm it up before rolling.
- Chocolate hardens too quickly: If this happens, reheat it gently in the microwave, adding a bit of coconut oil to keep it smooth.
- Truffles are too crumbly: Ensure you’re using the correct amount of pumpkin purée and oat flour. Adjust as necessary to maintain the right consistency.
Variations on Pumpkin Truffles
Feel free to get creative! Here are some fun variations you might want to try:
- Chocolate Chip Pumpkin Truffles: Mix in some dark chocolate chips for added chocolatey goodness.
- Nutty Pumpkin Truffles: Stir in crushed nuts such as walnuts or pecans for crunch.
- Spiced Pumpkin Truffles: Add extra spices like cardamom or cloves to enhance the pumpkin spice flavor.
- Coconut Pumpkin Truffles: Roll the truffles in shredded coconut instead of chocolate for a tropical twist.
Storage and Make-Ahead Instructions
These truffles can be made ahead of time and stored for later enjoyment. Here’s how:
- Refrigerator: Store in an airtight container for up to two weeks. Enjoy them cold or let them sit at room temperature for a few minutes before serving.
- Freezer: For longer storage, freeze the truffles in a single layer on a baking sheet, then transfer to a freezer-safe container. They can last up to three months. Thaw in the refrigerator when ready to enjoy.
Frequently Asked Questions
- Can I use canned pumpkin? Yes, canned pumpkin purée works perfectly for this recipe. Just ensure it’s pure pumpkin, not pumpkin pie filling.
- Are these truffles gluten-free? Yes, using oat flour makes these truffles gluten-free.
- Can I make these vegan? Absolutely! Use maple syrup instead of stevia and ensure your chocolate is dairy-free.
- How do I know when the chocolate has melted properly? Stir the chocolate frequently while heating. It should be smooth and shiny without lumps.
- What if I don’t have oat flour? You can easily make your own by blending rolled oats in a food processor until fine.
- How can I enhance the flavor? Consider adding a splash of vanilla extract or a pinch of sea salt to balance flavors.
- Can I use different sweeteners? Yes, feel free to substitute with agave syrup or honey, adjusting the amount according to your taste.
- What is the best way to serve these truffles? They can be enjoyed chilled or at room temperature and make a beautiful addition to any dessert platter.
Nutrition Tips and Dietary Adaptations
These pumpkin truffles are not only delicious but also packed with nutrients. Here’s how to make them even healthier:
- Add protein: Consider adding protein powder to the mixture for an extra boost.
- Substitute sweeteners: Experiment with different natural sweeteners to suit your dietary preferences.
- Include seeds: Incorporate chia seeds or flaxseeds for added fiber and omega-3 fatty acids.
Equipment Recommendations
To make your truffle-making experience smooth and enjoyable, here are some essential tools:
- Mixing bowls: A set of different sizes will help with mixing and preparing ingredients.
- Measuring cups and spoons: Accurate measurements ensure the best results.
- Microwave-safe bowl: For melting chocolate safely.
- Baking sheet: To hold your truffles while they chill and set.
- Two forks: For dipping the truffles into chocolate without making a mess.
Serving Suggestions
These pumpkin truffles can be served in various ways to enhance your enjoyment:
- On a dessert platter: Arrange them beautifully on a platter for a festive look.
- With a cup of tea or coffee: Pair them with your favorite hot beverage for a cozy treat.
- As a gift: Package them in a decorative box and share them with friends or family.
Conclusion
In conclusion, making wholesome pumpkin truffles is a simple yet rewarding process that anyone can master. With these delightful treats, you have the opportunity to create something special that nourishes both body and spirit. Remember, cooking is about joy and experimentation, so don’t hesitate to make this recipe your own. Enjoy the process, share with loved ones, and savor the delightful flavors of your homemade pumpkin truffles!
Healthy Pumpkin Truffles
Ingredients
Pumpkin Purée
- ½ cup pumpkin purée (NOT pumpkin pie mix)
- 1 ¼ tsp homemade pumpkin spice (see Notes!)
- ⅛ tsp salt
- ¾ tsp liquid stevia
- ¾ cup oat flour
- ¼ cup roughly chopped dark chocolate (see Notes!)
Optional: Flaky Sea Salt
Instructions
- Line a baking tray with wax or parchment paper.
- Mix pumpkin purée, pumpkin spice, salt, and stevia. Add oat flour and stir until combined. Form into small spheres and place on tray.
- Melt dark chocolate in microwave, stirring until smooth. Dip each sphere into chocolate, then place back on tray. Sprinkle with flaky sea salt if desired.
- Freeze for 5-10 minutes or refrigerate until chocolate hardens. Serve chilled.