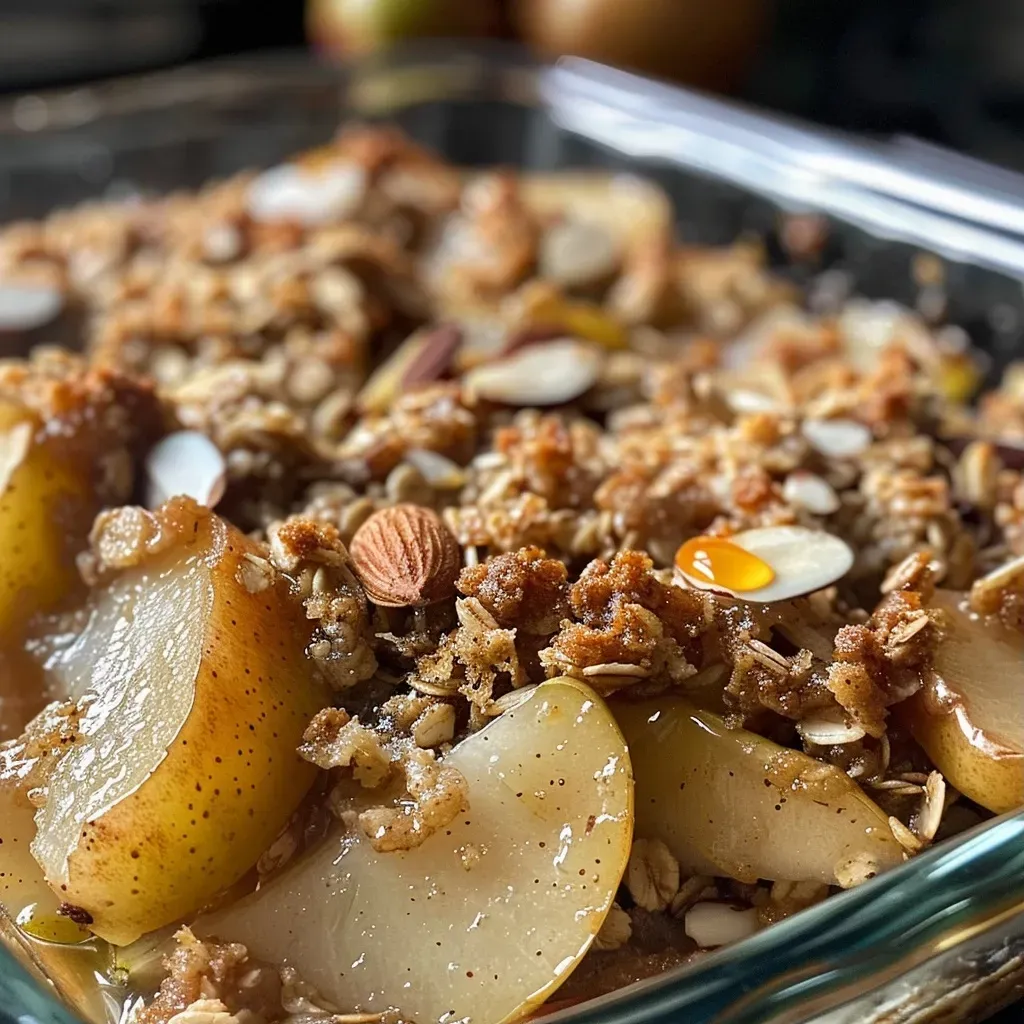
Welcome to Your New Favorite Dessert: Healthy Pear Crisp
Cooking is a journey filled with flavors and heartwarming moments. Today, we’re diving into a delightful recipe that celebrates the beauty of pears in a Healthy Pear Crisp. This dish is not just a dessert; it’s a comforting experience that can bring warmth to any gathering or a cozy night in. As we embark on this culinary adventure, I invite you to enjoy the process and savor every bite of this wholesome treat.
With its crispy topping and tender fruit, this Healthy Pear Crisp is perfect for any time of year, but especially during the fall when the aroma of cinnamon fills the air. Using simple, nourishing ingredients, this recipe is all about balance and pleasure in cooking. Let’s get started!
Why You’ll Love This Recipe
- Wholesome Ingredients: Made with fresh pears, rolled oats, and coconut sugar, this crisp is a healthy alternative to traditional desserts.
- Easy to Make: With just a few simple steps, you can prepare this dish quickly, making it perfect for any weeknight dinner or special occasion.
- Customizable: Feel free to tweak the ingredients based on your preferences or what you have on hand. This recipe adapts beautifully!
- Guilt-Free Indulgence: Enjoy a sweet treat without the heavy calories, making it a delightful option for health-conscious dessert lovers.
- Perfect for Sharing: Whether you’re hosting friends or enjoying a quiet evening at home, this pear crisp is a dish that brings people together.
Ingredients Breakdown
Let’s explore the ingredients that come together to create this nourishing dessert:

★ Recommended Kitchen Tool
5-Speed Electric Hand Mixer
Make this recipe even easier with a quality 5-Speed Electric Hand Mixer — a must-have kitchen staple!
- Pears: Fresh, ripe pears are the star of this dish. You can also use canned pears for convenience. Varieties like Bartlett or Anjou work beautifully.
- Coconut Sugar: A healthier sweetener that adds a caramel-like flavor while keeping the crisp wholesome.
- Rolled Oats: Use certified gluten-free oats if necessary. They form the base of the topping, creating a delightful crunch.
- Almond Flour: Adds a nutty flavor and helps bind the topping together.
- Maple Syrup: For a touch of natural sweetness that complements the pears.
- Walnuts & Sliced Almonds: These nuts add healthy fats and a satisfying crunch.
- Vegan Butter: A plant-based option that keeps the topping rich and buttery without dairy.
- Vanilla Extract: A splash of vanilla enhances the flavors and adds warmth to the dish.
- Cinnamon, Nutmeg, and Ground Ginger: These spices infuse the crisp with warmth and depth, perfect for fall.
- Salt: Just a pinch balances the sweetness and enhances the overall flavor.
Pro Tips for a Perfect Pear Crisp
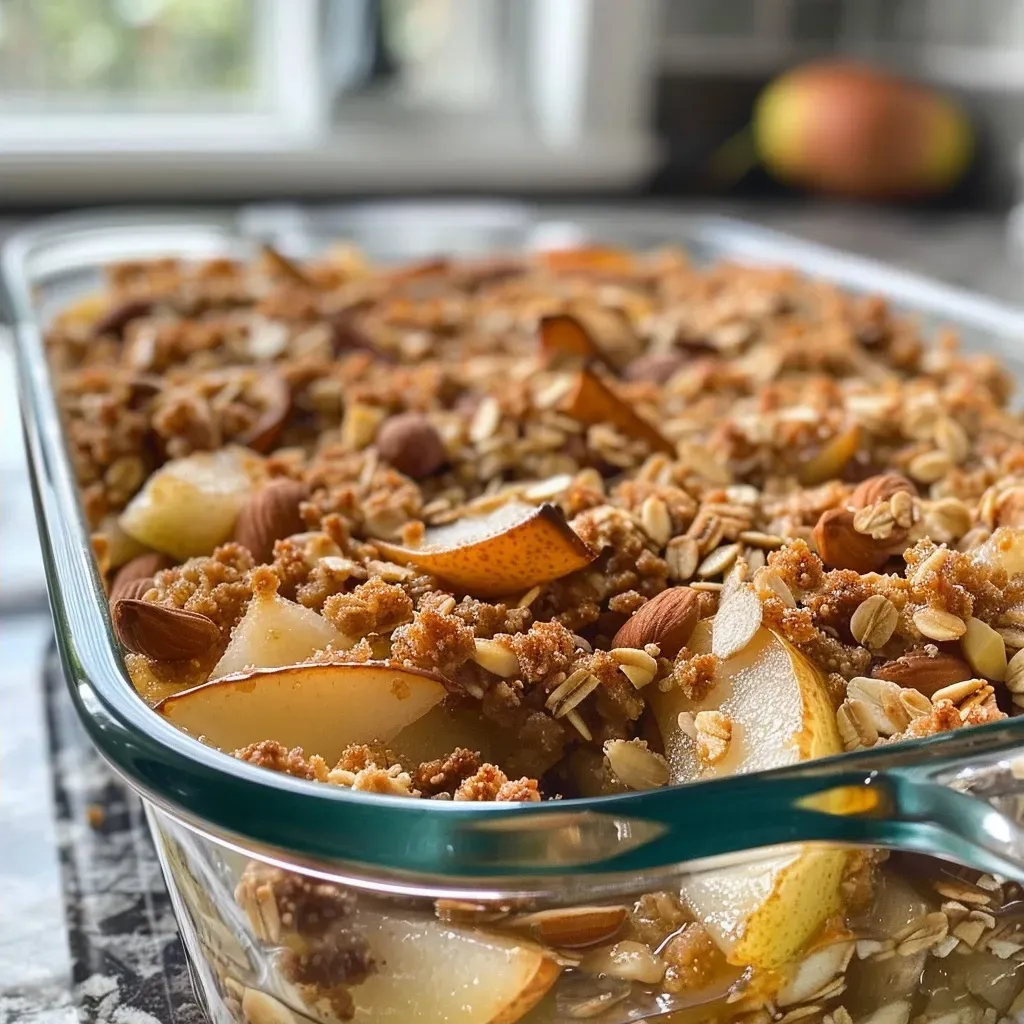
- Choose Ripe Pears: For the best flavor, ensure your pears are ripe but not overripe. This will give you the perfect texture when baked.
- Layering is Key: When layering the pears and topping, be sure to spread them evenly for consistent cooking.
- Don’t Overmix the Topping: Mixing just until combined will keep the topping light and crumbly.
- Adjust Sweetness: Taste your pear mixture before baking. If you prefer a sweeter crisp, feel free to add more coconut sugar or maple syrup.
- Bake Until Golden: Keep an eye on your crisp; you want it golden brown and bubbling for the best texture.
- Let It Rest: Allow your pear crisp to cool for a few minutes before serving to let the juices settle.
- Pair with Ice Cream: For an indulgent touch, serve with a scoop of your favorite ice cream or coconut yogurt.
- Use Seasonal Fruits: Experiment with different fruits like apples or berries for a variety of flavors.
- Store Properly: If you have leftovers, store them in an airtight container in the fridge to maintain freshness.
- Make Ahead: You can prepare the topping in advance and store it separately until you’re ready to bake.
Common Mistakes and Troubleshooting
Even the best of us make mistakes in the kitchen! Here are some common pitfalls and how to avoid them:
- Pears Too Hard: If your pears are too firm, they might not soften adequately during baking. Consider slicing them thinner or pre-cooking them slightly.
- Topping Is Too Dry: If your topping isn’t clumping together, it may need more fat (vegan butter) or a splash of liquid (like maple syrup).
- Overbaking: Keep an eye on your crisp towards the end of the baking time to prevent it from becoming dry.
- Uneven Baking: Ensure you spread the topping evenly over the pears to help it cook uniformly.
- Flavors Too Mild: If you find your crisp lacks flavor, try adding more spices or a splash of lemon juice for brightness.
Delicious Variations of Healthy Pear Crisp
This recipe is versatile, allowing you to switch things up based on your taste:
- Apple-Pear Crisp: Mix apples with pears for a delightful flavor combination.
- Nut-Free Version: Omit the nuts and substitute with seeds like sunflower or pumpkin seeds for crunch.
- Spiced Pear Crisp: Add cardamom or allspice for an extra layer of warmth.
- Chocolate Drizzle: Drizzle melted dark chocolate over the top before serving for a decadent finish.
Storage and Make-Ahead Instructions
This Healthy Pear Crisp can be stored and enjoyed later:
- Refrigerator: Store leftovers in an airtight container for up to 3 days.
- Freezer: You can freeze unbaked crisp for up to 3 months. Bake from frozen, adjusting the time accordingly.
- Make Ahead: Prepare the crisp topping ahead of time and store it in the fridge. Assemble and bake when ready to serve.
Frequently Asked Questions
- Can I use other fruits? Absolutely! Feel free to mix in berries or peaches for a different flavor profile.
- Do I need to peel the pears? It’s not necessary; the skin adds texture and nutrients. However, you can peel them if you prefer.
- Is this recipe gluten-free? Yes, just ensure that you use certified gluten-free oats and almond flour.
- How do I know when it’s done? Look for a bubbly filling and a golden-brown topping.
- Can I make this vegan? Yes! This recipe is already vegan, thanks to the use of vegan butter.
- Can I use brown sugar instead of coconut sugar? Yes, brown sugar will work, but it will change the flavor slightly.
- What can I serve with pear crisp? Try serving it warm with whipped cream, yogurt, or a scoop of ice cream.
- How long does it take to bake? Usually, around 30-35 minutes at 350°F (175°C) until golden brown.
Nourishing Tips and Dietary Adaptations
Your Healthy Pear Crisp can fit various dietary needs:
- Low Sugar Option: Reduce the sugar content by using less maple syrup or coconut sugar.
- High-Protein Variant: Add protein powder to the topping for an extra boost.
- Low-FODMAP Adaptation: Use ripe pears in moderation and ensure all ingredients are low-FODMAP.
- Nut-Free Option: Omit nuts and replace with seeds as mentioned earlier.
Essential Equipment You’ll Need
To create this delightful pear crisp, gather the following:
- Baking Dish: A medium-sized baking dish (9×9 inch) works perfectly.
- Mixing Bowls: You’ll need a few bowls for mixing the filling and the topping.
- Measuring Cups and Spoons: Accurate measurements ensure the best results.
- Knife and Cutting Board: For slicing your pears and any other fruits you choose to add.
- Spatula: Useful for mixing and spreading the topping evenly.
Serving Suggestions
To elevate your pear crisp experience:
- Warm with Ice Cream: Serve warm with a scoop of vanilla or cinnamon ice cream.
- Drizzle of Honey: A light drizzle of honey can enhance the sweetness.
- Pair with Coffee or Tea: A warm beverage complements the crisp beautifully.
- Garnish with Fresh Mint: A sprinkle of fresh mint adds color and a refreshing touch.
Conclusion: Your New Comfort Food Awaits
This Healthy Pear Crisp is not just a recipe; it’s a celebration of simple, nourishing ingredients that bring joy and comfort to your home. As you prepare and share this dish, remember that cooking is about the love you put into it. Enjoy the process, and let each bite remind you of the warmth and sweetness that life has to offer. Thank you for joining me in this culinary adventure, and I hope you find as much joy in making this pear crisp as I do!
Healthy Pear Crisp
Ingredients
Fruits
- 4 medium pears (peeled, cored, sliced)
- 0.25 cup coconut sugar
- 1 cup rolled oats (use certified GF if needed)
- 0.5 cup almond flour
- 0.25 cup maple syrup
- 0.5 cup walnuts (chopped)
- 0.25 cup sliced almonds
- 0.25 cup vegan butter (melted)
- 1 teaspoon vanilla extract
- 1 teaspoon cinnamon
- 0.25 teaspoon nutmeg
- 0.25 teaspoon ground ginger
- 0.25 teaspoon salt
Instructions
- Preheat oven to 350°F (175°C). Slice and prepare pears.
- Mix coconut sugar, cinnamon, nutmeg, ginger, and salt; toss with pears.
- Combine oats, almond flour, walnuts, sliced almonds, vanilla, and melted vegan butter to make topping.
- Place pears in a baking dish and sprinkle topping evenly over them.
- Bake for 30 minutes until topping is golden and pears are tender.