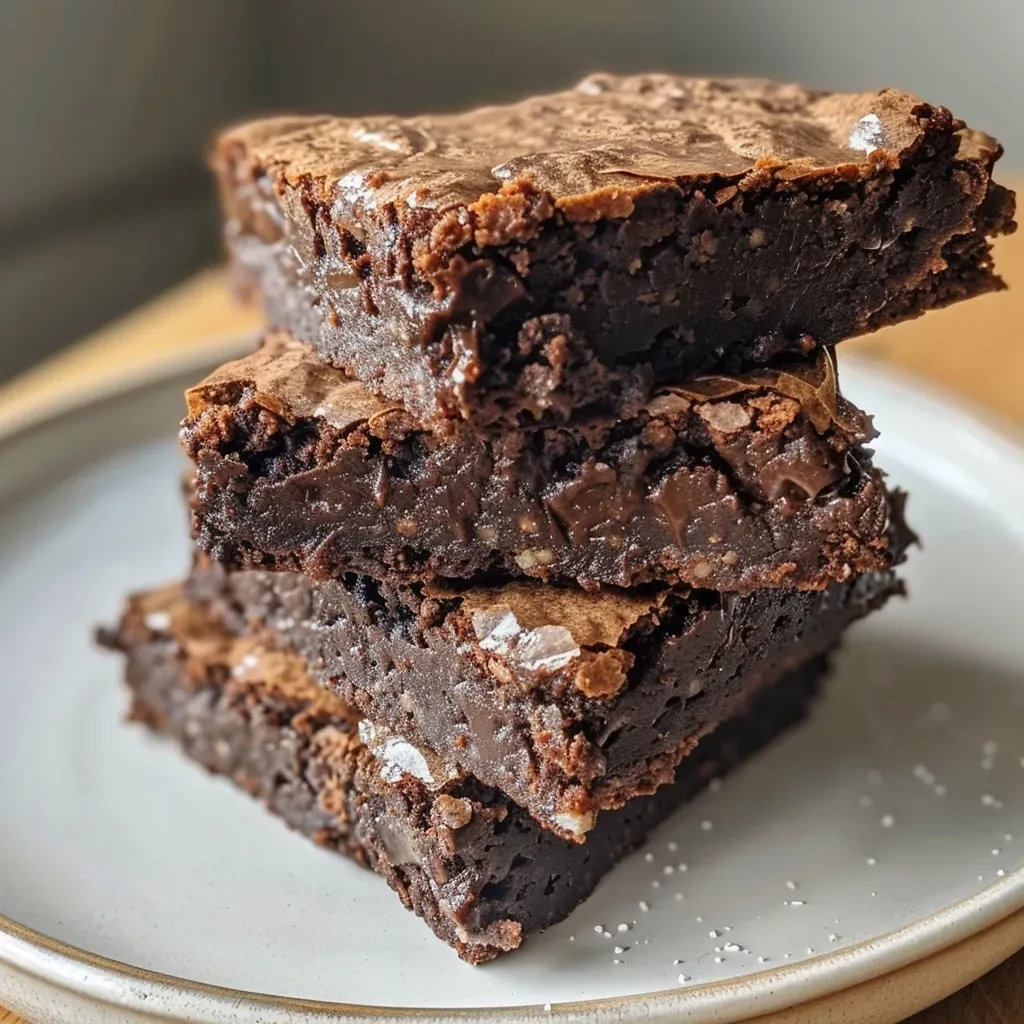
Why You Should Embrace These Delightfully Decadent Gluten-Free Brownies
Welcome to a world of rich, chocolatey bliss with my gluten-free oat flour brownies! If you’re looking for a dessert that’s not only easy to make but also satisfies your sweet tooth without the guilt, you’re in the right place. This recipe harnesses the natural sweetness of oats and the deep flavor of cocoa to create a treat that everyone will love. Let’s dive into why these brownies should become a staple in your kitchen.
- Healthier Indulgence: Made with oat flour, these brownies offer a gluten-free alternative that’s packed with fiber and nutrients, making them a healthier choice than traditional brownies.
- Rich Chocolate Flavor: Thanks to the generous amount of cocoa powder, these brownies deliver an intense chocolate flavor that will satisfy even the most discerning chocolate lovers.
- Easy to Prepare: With just a handful of ingredients and simple steps, you can whip up a batch of these brownies in no time, even if you’re a beginner in the kitchen.
- Versatile and Customizable: Feel free to add your favorite mix-ins, such as nuts or dried fruit, to tailor the brownies to your taste and dietary needs.
- Perfect for Any Occasion: Whether it’s a casual family gathering, a potluck, or an afternoon treat, these brownies are sure to impress.
Ingredients You Need for This Recipe
To create these delightful brownies, gather the following ingredients:
- 1 cup granulated sugar: This sweetener balances the rich cocoa and brings sweetness to the brownies.
- 2 tbsp boiling water: This helps to dissolve the sugar, ensuring a smooth batter.
- 1/2 cup melted butter: Adds richness and moisture to the brownies.
- 1/2 tsp vanilla extract: Enhances the overall flavor profile.
- 2 large beaten eggs: Provides structure and moisture.
- 3/4 cup oat flour: The star ingredient, providing gluten-free goodness.
- 1/2 tsp baking powder: Helps the brownies rise and become fluffy.
- 3/4 tsp salt: Balances the sweetness and enhances flavor.
- 2/3 cup cocoa powder: For that rich chocolate flavor.
- 1/2 cup powdered sugar: Adds sweetness to the brownie crust.
- 1/2 cup mini dark chocolate chips: For an extra chocolatey bite!
How to Make These Gluten-Free Brownies
Ready to indulge? Let’s walk through the steps to make these brownies:
- Preheat your oven to 325°F (160°C). Prepare an 8×8 inch baking dish by spraying it with cooking spray and lining it with parchment paper. Don’t forget to spray the parchment paper as well!
- In a medium bowl, combine the powdered sugar, baking powder, oat flour, cocoa powder, salt, and chocolate chips. This mixture will create the dry base for your brownies.
- In a large bowl, mix the granulated sugar with the boiling water until dissolved. Then, add in the melted butter, vanilla extract, and beaten eggs. Stir until everything is well combined.
- Sprinkle the dry ingredient mixture over the wet ingredients. Gently stir until just combined—be careful not to over-mix!
- Pour the batter into the prepared baking pan, smoothing the top with a spatula.
- Bake in your preheated oven for about 45 minutes or until a toothpick inserted comes out mostly clean. Allow the brownies to cool for about 2 hours before cutting into squares.
Expert Tips for Making Healthy Brownies
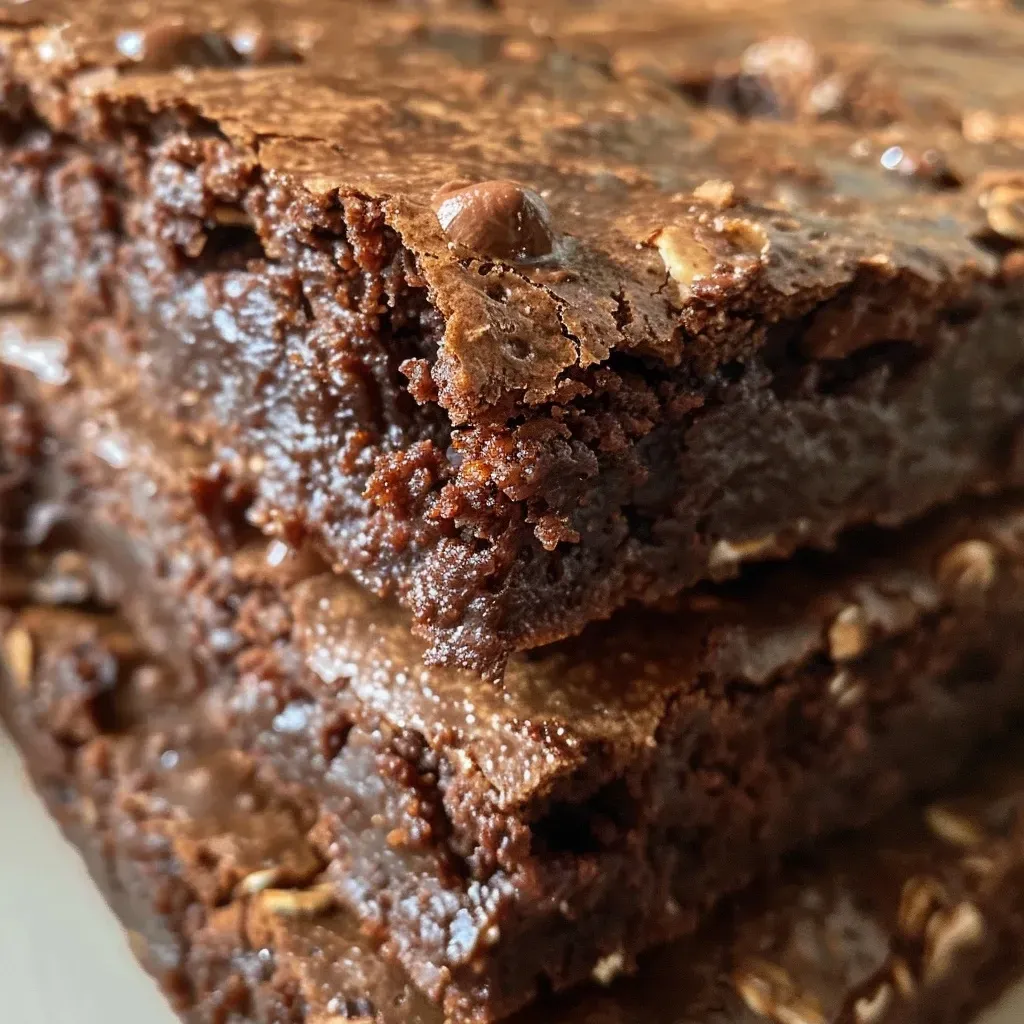
For the best results, here are some tips to elevate your brownie-making experience:
- Use Quality Ingredients: Select high-quality cocoa powder and butter for the richest flavor.
- Don’t Overmix: Mixing too much can lead to dense brownies rather than the desired fudgy texture.
- Cool Completely: Allowing the brownies to cool completely before cutting helps them set properly, ensuring clean edges.
- Try Different Sweeteners: If you’re looking for a lower-sugar option, consider using coconut sugar or a sugar substitute that measures like sugar.
- Experiment with Mix-ins: Add nuts, dried fruit, or even a swirl of peanut butter to make these brownies your own.
- Check for Doneness: Every oven is different; check your brownies a few minutes early to avoid overbaking.
- Store Properly: Keep brownies in an airtight container to maintain freshness and moisture.
- Make Ahead: These brownies can be made ahead of time and stored in the fridge for up to a week—perfect for meal prep!
Common Mistakes and Troubleshooting
Even the best bakers can run into issues. Here are some common mistakes and how to avoid them:
- Dry Brownies: This usually happens from overbaking. Keep an eye on them as they bake and use the toothpick test for doneness.
- Crumbly Texture: If your brownies are crumbly, you may have used too much flour. Make sure to measure accurately.
- Uneven Baking: Ensure your oven is preheated and consider rotating the pan halfway through baking for even results.
- Sticking to the Pan: Always line your pan with parchment paper and spray it well to prevent sticking.
Delicious Variations to Try
Feeling adventurous? Here are some variations to switch things up:
- Nutty Brownies: Add 1/2 cup of chopped walnuts or pecans for a crunchy texture.
- Peanut Butter Swirl: Drop spoonfuls of peanut butter into the batter before baking and swirl with a knife for a decadent twist.
- Mint Chocolate Brownies: Incorporate a few drops of mint extract into the batter for a refreshing flavor.
- Spicy Brownies: Add a pinch of cayenne pepper or a dash of chili powder to the batter for a surprising kick.
Storage and Make-Ahead Instructions
These brownies are perfect for making ahead of time! Here’s how to store them:
- Room Temperature: Store in an airtight container at room temperature for up to 3 days.
- Refrigeration: For longer storage, keep them in the fridge for up to a week. Just remember to let them come to room temperature before serving for the best taste!
- Freezing: You can freeze brownies for up to 3 months. Wrap them tightly in plastic wrap, then place them in a freezer bag. Thaw in the fridge before serving.
Comprehensive FAQ
Here are some common questions you might have about these gluten-free oat flour brownies:
- Can I substitute oat flour with all-purpose flour? Yes, if you’re not gluten-sensitive, you can use all-purpose flour in the same measurement.
- Are these brownies vegan? You can make them vegan by substituting the eggs with flax eggs (1 tbsp flaxseed meal + 2.5 tbsp water per egg) and using dairy-free butter.
- How do I know when the brownies are done? Use a toothpick; it should come out mostly clean, with a few moist crumbs attached.
- Can I add chocolate chips to the batter? Absolutely! Adding chocolate chips will enhance the chocolate flavor and make the brownies even more indulgent.
- What should I serve with these brownies? They pair wonderfully with a scoop of vanilla ice cream or a dollop of whipped cream.
- Can I use a different sweetener? Yes, you can substitute granulated sugar with coconut sugar or a sugar alternative.
- Why are my brownies too dense? Overmixing the batter can lead to dense brownies. Mix just until combined.
- How long do these brownies last? They can be stored at room temperature for 3 days, in the fridge for up to a week, or frozen for 3 months.
Nourishing Nutrition Tips and Dietary Adaptations
These brownies not only satisfy your cravings but also offer nutritional benefits:
- Fiber Boost: Oat flour is high in fiber, which can aid digestion and keep you feeling full.
- Lower Sugar Option: By using a sugar substitute, you can enjoy a lower-calorie version of these brownies.
- Protein Addition: Consider adding protein powder to the batter for an extra nutritional punch.
- Nut-Free Variation: To keep these brownies nut-free, ensure your chocolate chips are nut-free and use a dairy-free butter substitute.
Essential Equipment Recommendations
Before you start baking, make sure you have the right tools:
- Mixing Bowls: A set of mixing bowls in various sizes is essential for combining wet and dry ingredients.
- Measuring Cups and Spoons: Accurate measurements ensure the best results for your brownies.
- Whisk: For mixing wet ingredients and ensuring your batter is well combined.
- Baking Dish: An 8×8 inch baking dish is perfect for this recipe.
- Parchment Paper: Line your baking dish for easy removal and cleanup.
Serving Suggestions
These brownies are versatile and can be enjoyed in various ways:
- A La Mode: Serve warm brownies with a scoop of vanilla ice cream on top for a classic dessert.
- With Whipped Cream: A dollop of freshly whipped cream adds a light, airy contrast to the rich brownies.
- Chocolate Drizzle: Drizzle melted chocolate over the top for an extra touch of indulgence.
- Garnished with Nuts: Sprinkle chopped nuts on top for added texture and flavor.
In conclusion, these gluten-free oat flour brownies are not just a dessert; they are a celebration of comfort and joy in the kitchen. With their rich flavor, simple preparation, and customizable nature, they are perfect for any occasion. I invite you to gather your ingredients and give this recipe a try. I’m so glad you’re here and hope you find as much joy in making and sharing these brownies as I do!
Gluten-Free Oat Flour Brownies
Ingredients
Dry ingredients
- 1 cup granulated sugar
- 3/4 cup oat flour
- 1/2 tsp baking powder
- 3/4 tsp salt
- 2/3 cup cocoa powder
- 1/2 cup powdered sugar
Wet ingredients
- 1 cup granulated sugar
- 2 tbsp water boiling
- 1/2 cup butter melted
- 1/2 tsp vanilla extract
- 2 large eggs beaten
Chocolate chips
- 1/2 cup mini dark chocolate chips
Instructions
- Preheat oven to 325°F (160°C). Line an 8x8 baking dish with parchment paper and spray with cooking spray.
- In a medium bowl, combine powdered sugar, baking powder, oat flour, cocoa powder, salt, and chocolate chips.
- In a large bowl, mix boiling water with granulated sugar, then add melted butter, vanilla, and eggs; mix until smooth.
- Gradually add dry ingredients to wet mixture, stirring until just combined. Do not over-mix.
- Pour batter into prepared pan, smooth the top, and bake for 45 minutes. Cool before cutting.